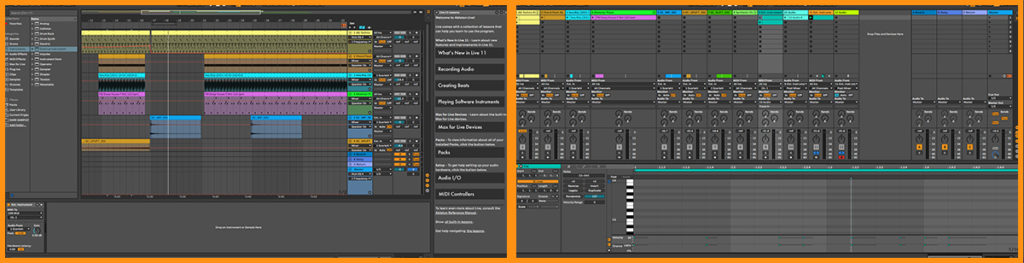
If you’re new to music production then you may feel overwhelmed when you first open a Digital Audio Workstation (DAW). The apprehension can soon be tamed by breaking down the individual views and learning their role. Each DAW will look different but by spending the time to understand the fundamentals of one piece of software, you’ll have a head start with the next. In this article we’ll discuss the purpose of each section of the DAW and what you can expect to see. So what are the different displays in a DAW?
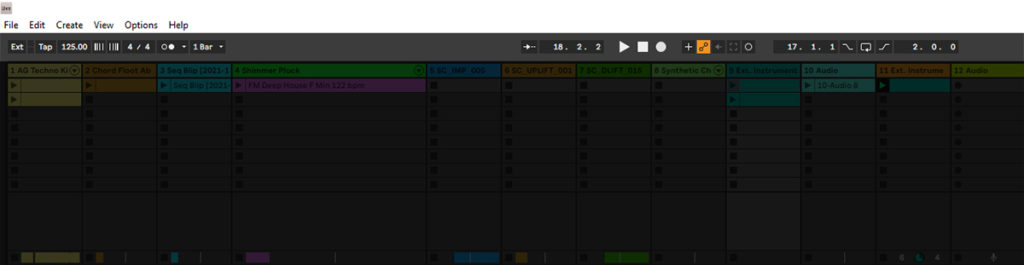
Toolbar
Much like every program or application, the DAW will have a toolbar where you can access anything from files or editing features, to playback controls and track BPM.
Primary workspace
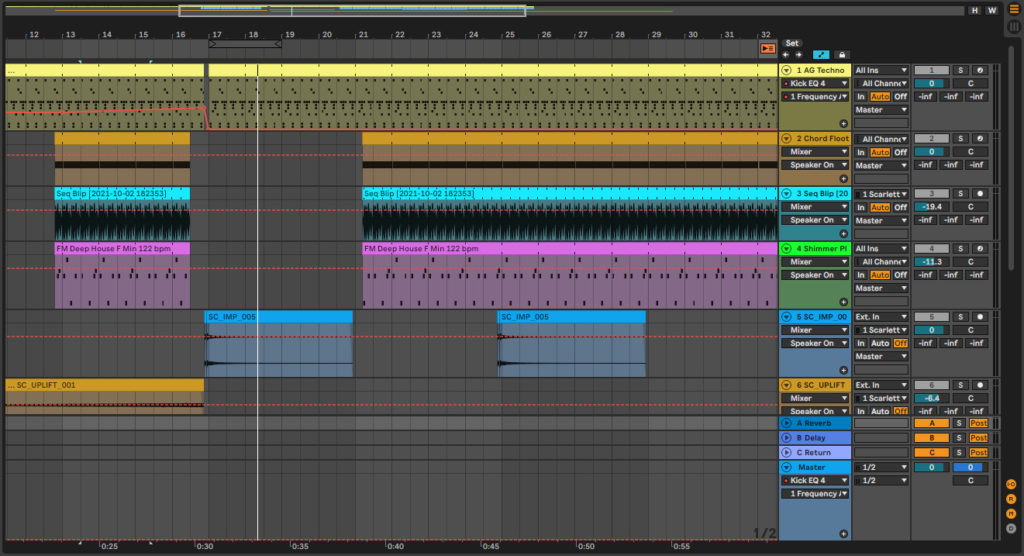
The main work area in any project, although it may go by various names such as: ‘playlist’ or ‘track view’. This is where you will play back the entire track or loop certain sections. The primary workspace usually consists of elements the producer has placed there, such as MIDI patterns, audio clips and automation paths. These elements all belong to dedicated channels which run horizontally along the screen.
Being able to view the entire project in one area allows for greater analysis; producers will often toggle channels on / off to determine if the sound(s) are working/necessary.
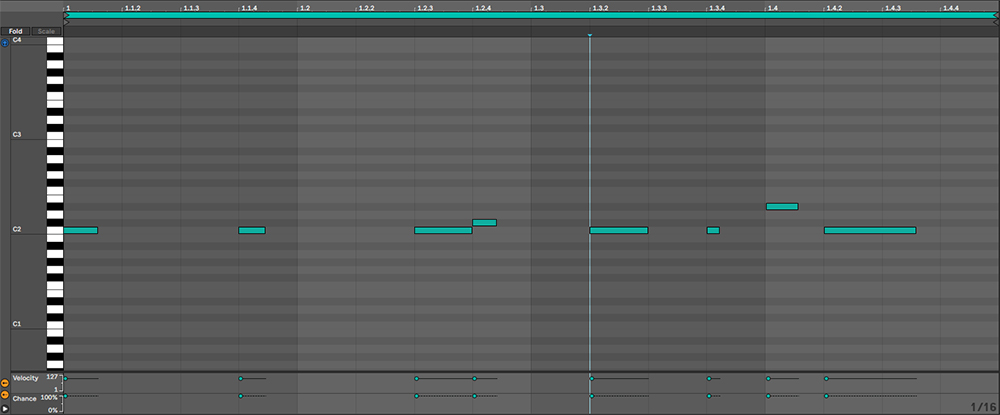
Piano roll
An area where we can sequence notes and layer chords as per the semitones seen on a real life piano. Generally, notes can be recorded into the piano roll in realtime and then later edited. This is a great way for musicians to quantise notes, alter velocities and fix any wrong notes played. On the contrary, the piano roll is ideal for inexperienced producers or those with little theoretical music knowledge. This is because it’s possible to ‘draw’ notes and play around with them until you hear a chord which sounds great.
Aside from experimenting with chord progressions and sequencing arpeggios – the piano roll will help you understand how grids work in music production and when quantisation is necessary (or not!). In most cases, a single piano roll can control multiple channels when it is assigned a group channel.
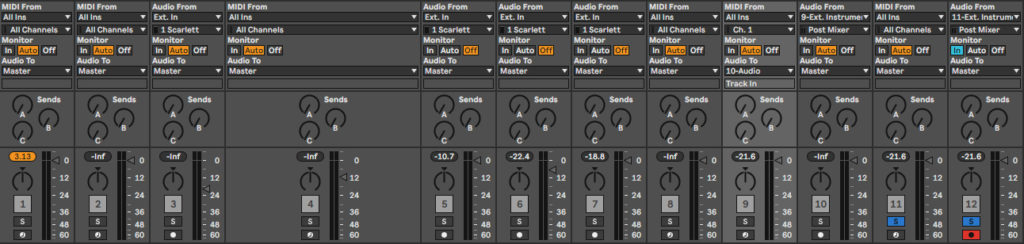
Mixer
Knobs and sliders ahoy! You’ve probably seen photos from music studios with huge mixing desks in front of a vocalist in the booth? Well the digital version is actually very similar. Usually consisting of a volume slider, a panning knob, mute/solo toggles, decibel levels, bus routing and much more.
The mixer allows you to make changes during playback to help all individual elements fit in. It’s also perfect for viewing the individual levels as well as the master level, which is very important to ensure your track has plenty of headroom and is not clipping.
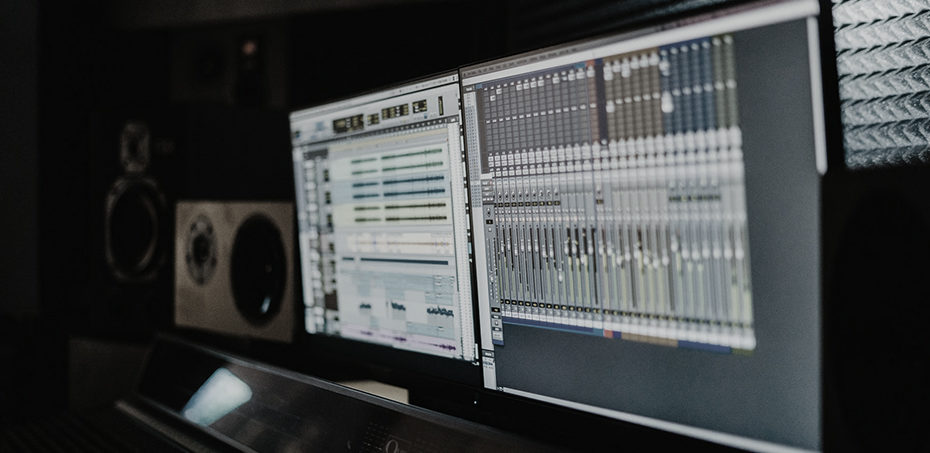
Multiple screens
If you’re fortunate enough to have access to more than one screen/monitor – use them! Most DAWs support dual screens, this allows you to see practically everything at the same time, saving you from constantly navigating from one window to another.
However, if you are using one device or screen, take the time to learn all the necessary keyboard shortcuts. This quick-fire access accelerates your workflow and prevents you from getting frustrated. Keyboard skins with the shortcuts printed on may be a great alternative if you’re struggling to remember the most common. Depending on your device and choice of DAW, there may be a skin out there for you.